Aquarium Setup: Step-by-Step Guide 2023
If you’re looking to set up an aquarium but aren’t sure where to begin, you’re in the right place! With the list of materials and step-by-step setup guide below, you can establish a thriving aquarium.
1. Essential Materials and Equipment
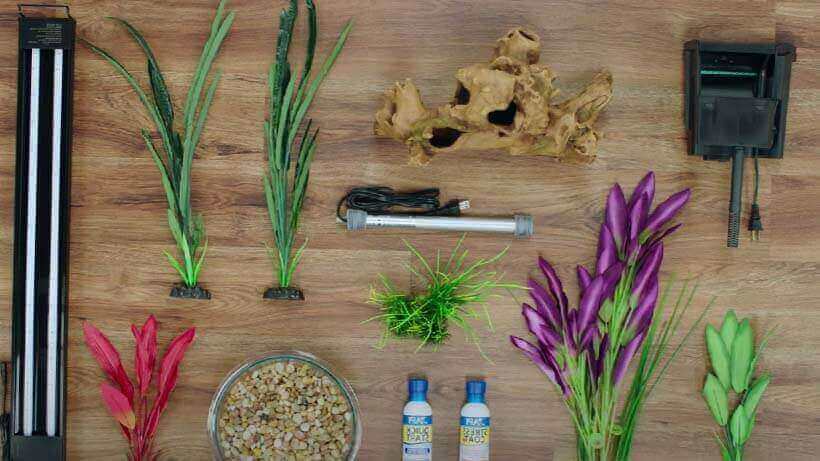
For a healthy setup and to enjoy your aquarium, the minimum equipment and material list includes:
- Aquarium: We recommend starting with a 40-50 liter aquarium.
- Aquarium Stand: Ensure it’s sturdy enough to support the weight of your filled aquarium.
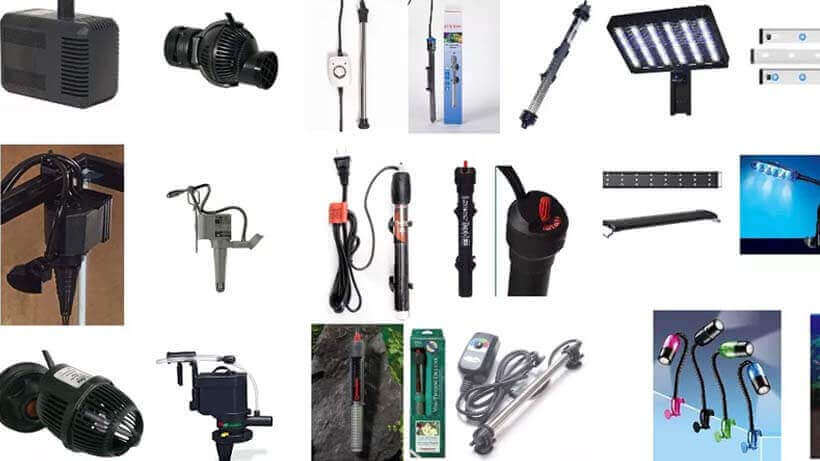
- Filter: For a 50-liter aquarium, a quality internal filter rated at 250-300 liters per hour is sufficient. If possible, an external filter of roughly the same rating might be better.
- Heater: A 50-watt heater should suffice. If you plan to expand your aquarium later, consider a more powerful heater but ensure its dimensions will fit.
- Lighting: Modern LED lighting that doesn’t disturb the fish is recommended both for energy savings and aesthetics.
- Thermometer: Essential to check if the water temperature is appropriate. Depending on the species of fish, the water temperature should usually be around 23-24°C.
- Sand & Gravel: Unless you’re keeping special species (not recommended for beginners), opt for natural, paint-free sand or gravels.
- Air pump, check valve, air tubing, and air stone: Oxygen is crucial for fish. A check valve prevents water from flowing back into the air pump, which is essential.
- Decoration materials & other tools: Use as many natural materials as possible. Ensure any plastics are free from harmful substances and paints. A net is essential for moving fish in and out.
For preventing and treating illnesses in fish, see: Aquarium Fish Diseases and Treatment Methods.
2. Aquarium Setup and Positioning
After procuring the necessary materials, you can proceed with the setup. Carefully following each step without rushing prevents future problems.
Location Choice
Level Surface: It’s vital that all joining points of the aquarium experience the same pressure.
Avoid Direct Sunlight: Direct sunlight can lead to issues like algae blooms.
Distance from Doors and Windows: Position the aquarium away from potential hazards like doorways.
Avoid Direct Exposure to Appliances: Fish are sensitive to water temperature. Avoid placing near heating or cooling sources.
Preparing the Aquarium for Filling
Clean the inside of your aquarium with a damp cloth. Check its levelness. Ensure there’s enough space behind the aquarium for cables and tubes. If using a background, attach it now.
Decoration and Final Touches
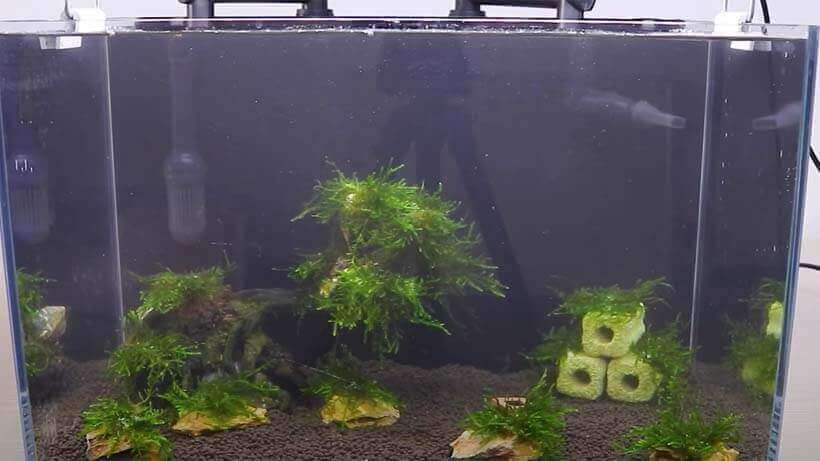
After connecting all equipment (but not turning them on), prepare your aquarium for decoration. Add your substrate, then other decorative items. Before adding water, place a plate inside and pour water onto it to reduce cloudiness.
Once filled, turn on the air pump, filter, and heater. Don’t forget to check the heater’s temperature setting. Finish the aquarium setup once you’re certain everything works correctly.
Adding Fish
Before introducing fish, let the aquarium run empty for at least 2 days. Introducing fish immediately can lead to health issues or fatalities.
After letting the aquarium run for 48 hours, you can begin introducing fish. The safest method involves placing the bag containing the fish into the aquarium to equalize temperatures before releasing them.
After waiting for 30 minutes, remove the bag from the water and open it. Pour it into a container, filling it halfway, along with the fish.
Every 5 minutes, add a small amount of water (about 1 teacup) from your own aquarium to this container. This will help the fish acclimate to the water, reducing the chance of any losses.
After another 30 minutes, use a scoop to gently place the fish into your aquarium.
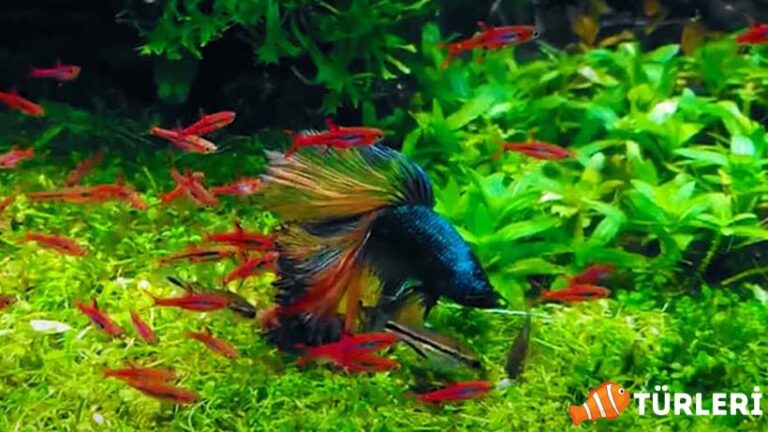
If you haven’t chosen a fish yet, we recommend considering guppies: How to set up a guppy aquarium?
3. Maintenance and Possible Issues
Maintenance after setting up your aquarium is crucial. If you’re diligent, the chance of facing issues is minimal.
Check your fish and the aquarium for 5 minutes daily. Detecting potential diseases in fish early will shorten the treatment process.
Once a week, replace about 30% of the water with fresh, chlorine-free water. When doing this, ensure the new water isn’t much colder or warmer than the aquarium’s water.
Filter maintenance varies depending on your filter type. If you chose an internal filter, clean it every 2 weeks; for external filters, clean every 4 weeks. Clean with water from the aquarium to avoid harming beneficial bacteria.
Potential Issues and Solutions
Issue Cause Solution
| Issue | Cause | Solution |
| Cloudy water | Tap water or water with chlorine, heavy elements | Use chlorine-free water; use aquarium water conditioners like Sera Aquatan |
| Green water | Excessive lighting, direct sunlight leading to algae growth | Reduce lighting duration/intensity; avoid direct sunlight; increase water change frequency |
| Amber water (increased ammonia) | Incomplete nitrogen cycle, too many fish | Increase water change frequency; supplement with bacterial cultures |
Conclusion
While setting up an aquarium may seem daunting, once you start, you’ll quickly realize it’s not as challenging as it appears. By carefully following the setup steps, you can have a well-established, thriving aquarium. Lastly, we leave you with a calming aquarium video below.
FAQs
How to Set Up a Healthy Aquarium?
As much as possible, avoid using tap water during the initial setup. The better the water quality at the beginning, the easier it is to maintain. Always use dechlorinated and settled water for water changes.
When Does a Bacterial Culture Form in a Newly Set Up Aquarium?
By inoculating with water or sand from a healthy aquarium, you can shorten this process, which usually takes 6 months, to about 2 months. You can also quickly establish colonies using commercially available bacterial culture additives.

